Categories

add blog login

Follow on Bloglovin

Friday 30 August 2013

New Project


Absolutely fallen in love with these topshop jumpers lately. But with being an unemployed graduate I don't exactly have enough money to drop £45 on a jumper. So this is my new project, I have a whole dining room full of spare yarn and thats what i'm starting next.

Also would like a try at this too but haven't got my head around the passap yet.


Kitten Cap Trainers

Here's another easy DIY. Using plimsolls that you can get cheap and surprisingly high quality from the high street. I got this pair from New Look for £4.50. For this DIY you will need:
-Plimsolls
-Contrasting paint colours.
-Paintbrushes.
-Masking tape.

1.
Place tape all the way round the toe of the shoe about an inch front the front.

2.
Paint completely white.

3.
Remove the tape and make sure it's a fairly straight line.

4.
paint two triangles on top of the straight line. Try to make them fairly symmetrical.

5.
Take a thin brush and paint the kitty's face. I found it easier to start with the nose in the middle and then do the whiskers and then move onto the eyes.
I went a bit too far with this! i just wiped it off with a cotton bud and painted over with more white paint.

6.
The white paint looked a bit messy so I just used black paint to neaten all the edges.

All Done! You could try different animals too!

Yummy Lunch!

For a healthy lunch or snack take a sesame bagel, spread low fat cream cheese thinly over it, layer with smoked salmon and finish off with cracked black pepper. 

My favourite healthy lunch lately!

P.S If you want to be super good add fresh rocket on top of the salmon and serve with fresh raw pepper and celery.


Spike Bracelet DIY

 This is my first tutorial and a nice easy one to make some original accessories. I have noticed neon and spiky/studded jewellery are a recent trend. But I wanted to make a softer more feminine version of this. To do this DIY you will need:
-Spike bangles(I got mine from primark for £1)
-Spray paint(I used Monster paint)
-Ribbon
-Scissors
-Double sided tape.

1.
Spray your bracelets with your chosen colour paint. Make sure you do this on newspaper or on a sheet you don't mind getting dirty. Also you will want to do this stage outside as the spray is toxic and very smelly.

2.
Leave to dry for about 5 minutes and spray the other side. You may need to do 2 coats depending on what paint you use. Wait until completely dry before continuing.

3.

Secure the end of the ribbon with double tape and wrap in-between the spikes. I have used a velour ribbon that I think I bought off Ebay.

4.
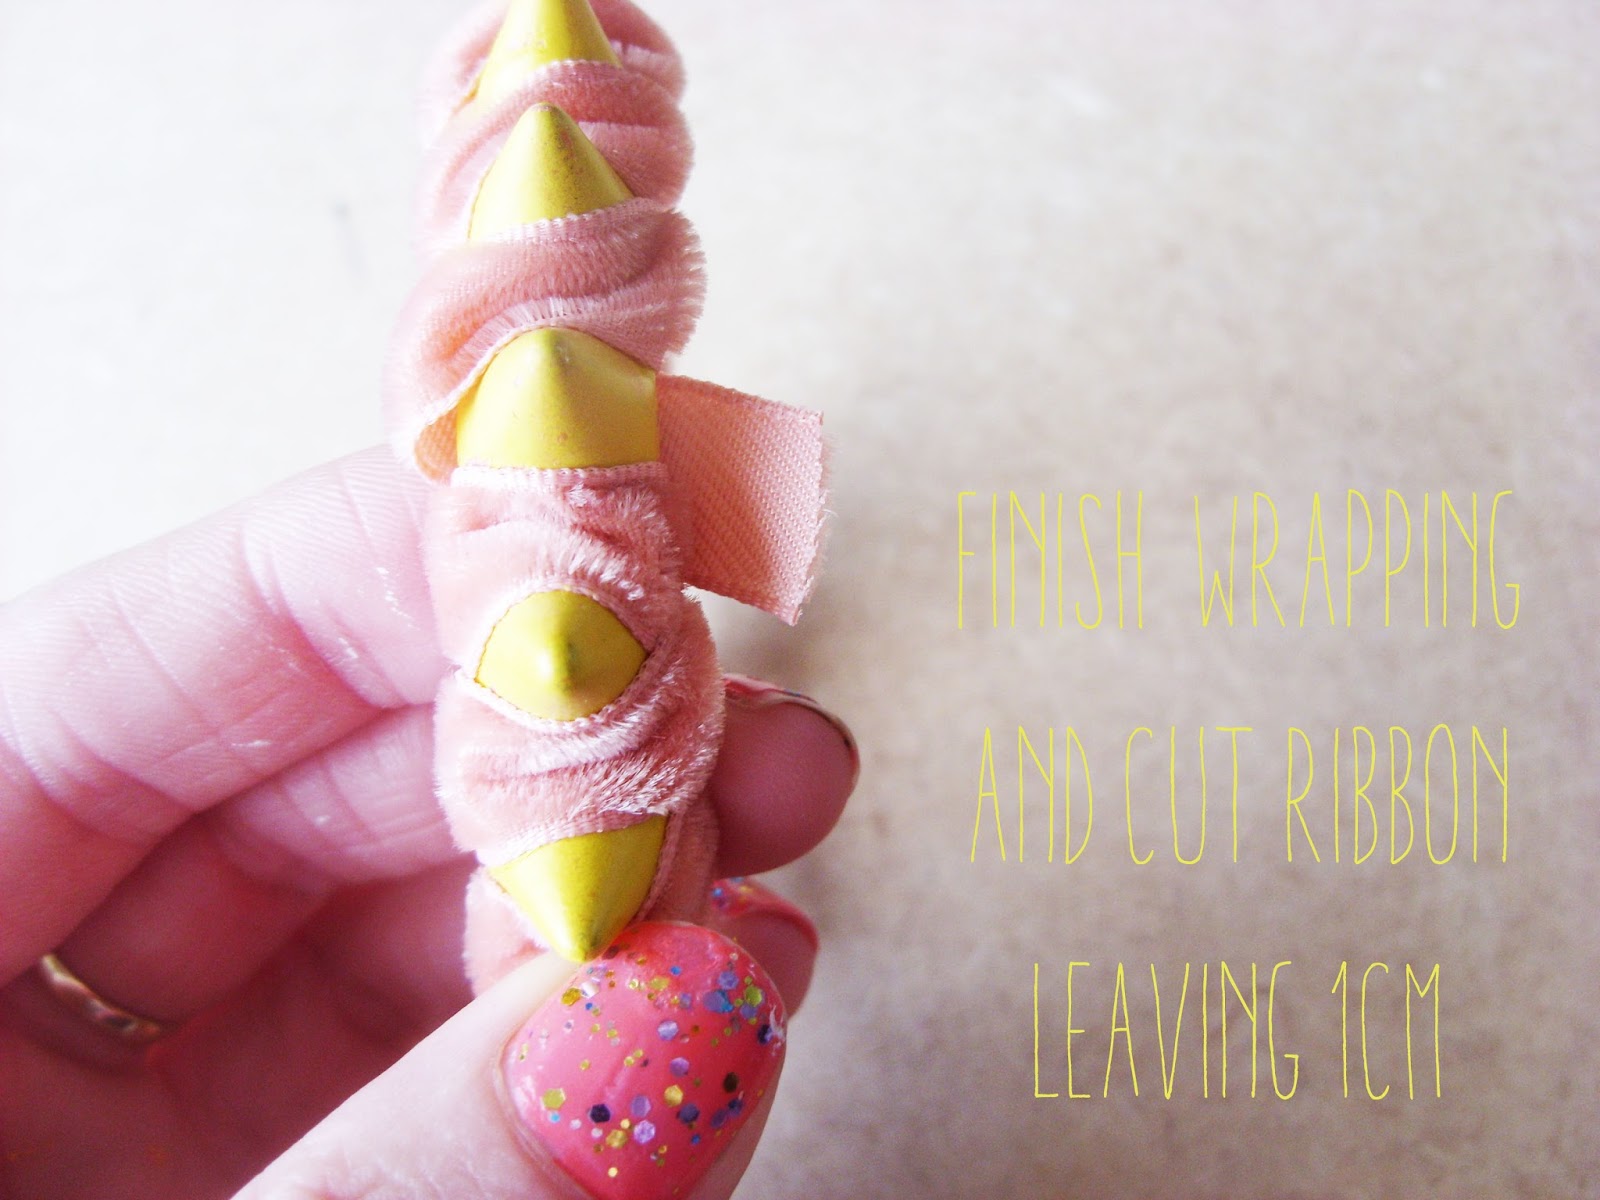
Wrap the whole bracelet and trip the end of the ribbon off leaving 1cm loose.

5.
Put double sided sticky tape on the end of the ribbon and wrap around the last spike to secure.

Now your bracelet is finished! For my other bracelet I chose a pastel yellow ribbon and followed the same directions as the other bracelet. You could choose any colour/ribbon combo you want!